
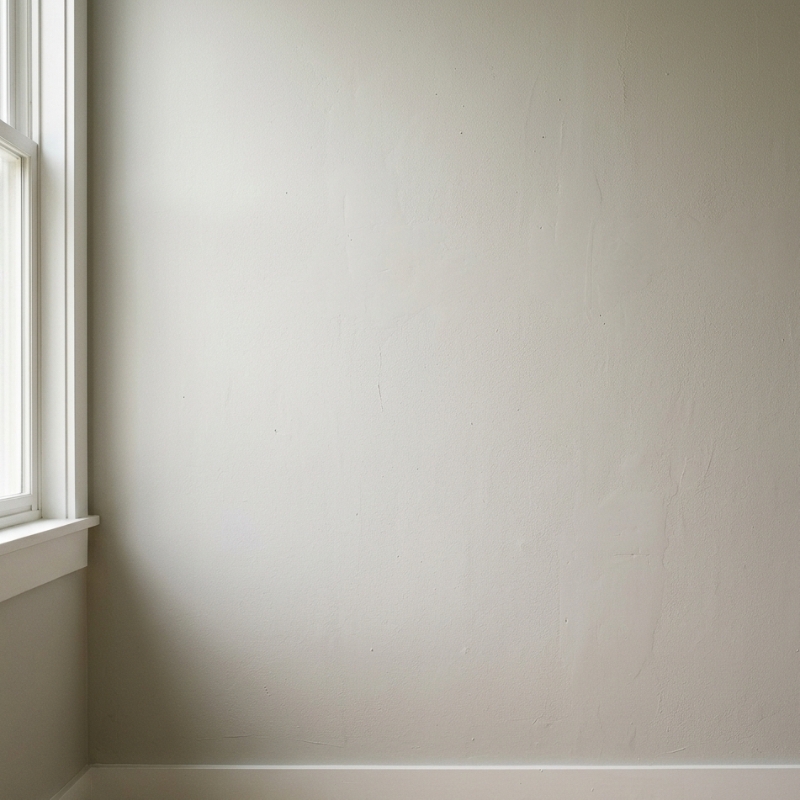
A Sydney living room wall rarely goes from perfect to peeling overnight. Most paint failures give you plenty of quiet hints first: a dull patch that never quite cleans up, fine spider-web cracks in morning light, or that lingering chalky feel after every wipe-down. Catch these early signals, and you can schedule a timely refresh, protect your plaster and avoid the bigger mess of flaking paint later on. Below, we break down the most common warning signs, why they appear in Sydney homes, simple ways to check severity and what to do next. If the list feels familiar and you would rather hand the whole project to professionals, a Sydney painter can take care of it for you. Our experienced Sydney painters can assess the surface and recommend the right fix—no hard sell, just practical advice.
1. Why Subtle Paint Changes Matter Long Before Peeling
Paint is more than colour. It seals your plasterboard, resists everyday moisture and helps indoor air stay healthier. Once that film loses integrity, moisture can creep in, stains set harder and repairs grow more complex. Acting at the “early sign” stage:
- Minimises sanding and patching work
- Keeps plaster sound (especially in humid suburbs like Parramatta or Surry Hills)
- Let’s you choose repaint timing around budgets and seasons rather than emergency fixes
Ignoring these hints, on the other hand, can lead to:
- Peeling that exposes bare Gyprock in bathrooms
- Mould setting into porous undercoats
- Higher prep costs when a full scrape-back becomes necessary
Sydney’s combination of coastal humidity and strong summer UV accelerates many of these issues, making early detection particularly worthwhile.
2. The Most Telltale Visual Cues (Often Missed)
2.1 Dulling and Uneven Sheen
When low-sheen walls start drying patchily after cleaning, resins in the paint film may be wearing away. Kitchens facing the western sun, for instance, often show this first around light switches or above splashbacks.
2.2 Hairline Cracks (Crazing)
Fine cracks as thin as human hair usually appear in older acrylics exposed to afternoon heat. While cosmetic at first, they open pathways for moisture and dirt.
2.3 Ghosting or Persistent Stains
If scuff marks return within days of cleaning, binder degradation could be allowing contaminants to sink deeper. In inner-city terraces with wood-burners, soot creates stubborn marks long before paint peels.
2.4 Faint Chalky Residue
Run a fingertip across a matte wall. A light powder on your skin means pigment and binder are breaking down. It often shows up earlier in stairwells where constant airflow dries paint faster.
2.5 Localised Blistering
Tiny bubbles smaller than a 5-cent coin can hint at trapped humidity or poor surface prep in previous coats. They rarely pop immediately but signal future peeling.
3. Quick Two-Minute Checks You Can Do Room by Room
Before calling in help, these simple tests clarify whether you are dealing with isolated wear or a wider repaint need.
| DIY Check | What You Might See or Feel | Likely Meaning | Suggested Action |
| Bright-lamp sweep (hold a torch close to the wall at 45°) | Highlighted mini-craters, faint cracks, uneven sheen | Surface erosion or micro-indentations | Note affected zones for later sanding or priming |
| Tape pull (low-tack painter’s tape pressed, then peeled) | Flakes of colour on tape | Poor adhesion of topcoat | Plan for spot-priming or broader repaint |
| Chalk test (rub finger then wipe with damp cloth) | Residue transfers to cloth repeatedly | Binder breakdown/chalking | Schedule repaint before moisture ingress |
| Moisture patch watch (after steamy shower) | Slow-drying damp areas linger | Imperfect seal or poor ventilation | Improve airflow, consider mould-resistant finish |
A single small area may only need a tidy-up. Consistent issues across multiple walls usually justify a full repaint.
4. Minor, Moderate or Urgent? A Decision Table
Not all early signs are equal. Use the table below to gauge next steps.
| Paint Condition | Typical Appearance | Usually Safe to Monitor | When to Repaint | When a Pro Inspection Helps |
| Light dulling | Slightly flatter patches in high-traffic spots | Yes, if colour is stable | Repaint when cleaning no longer revives finish | Rarely needed |
| Localised hairline cracks | Fine, shallow, no lifting edges | Yes, short term | Repaint once cracks spread or darken | If cracks widen or plaster movement suspected |
| Subtle chalking | Fine white powder on touch | Briefly | Within 6-12 months before chalk worsens | If chalking is heavy or widespread on new paint |
| Small blister clusters | Sealed bubbles, sound surface | Not advisable | Repaint section after cause fixed | If moisture source unknown (bathroom, laundry) |
| Ghosting stains | Marks reappear after cleaning | No | Repaint with stain-blocking primer | If stains suggest mould or smoke damage |
Sydney’s coastal fringe (think Bondi to Collaroy) often jumps a level quicker due to salt-laden air, so err on the side of sooner.
5. Common Mistakes That Turn Small Issues Into Peeling Disasters
- “It’s just bathroom steam.”
Trapped moisture behind paint is the number-one culprit in ensuite peeling. Use exhaust fans and mould-resistant topcoats early.
- Aggressive sugar-soap scrubbing.
Over-cleaning thins the paint film faster, exposing colour pigments.
- Ignoring cracked caulk around trim.
Gaps let humid air creep behind wall paint, especially in older sandstone cottages where surfaces move with temperature.
- Painting over hairline cracks without flexible undercoat.
Standard acrylics seldom bridge micro-movement; specialised elastomeric primers can.
- Skipping primer on patched areas.
Joint compound soaks topcoat unevenly, leaving flashing and premature dull spots.
Avoiding these pitfalls preserves adhesion and postpones the next full repaint cycle.
6. Local Factors Accelerating Paint Wear in Sydney Homes
6.1 High Humidity Pockets
Suburbs near Parramatta River see higher morning moisture, exacerbating bathroom and laundry chalking unless ventilation is robust.
6.2 Harsh Western Sun
West-facing rooms across Penrith, Blacktown or Homebush experience late-day UV that bakes acrylic binders. Consider UV-stabilised formulations or lighter reflectance colours.
6.3 Salt Spray and Coastal Wind
From Manly to Maroubra, salty breeze embeds chlorides in microscopic surface pits, drawing moisture. Regular gentle washing can slow chalking.
6.4 Renovation Off-Gassing in New Builds
Fresh plasterboard in growth corridors like Leppington may continue releasing compounds, slightly changing pH and impacting paint cure during the first year.
7. Questions to Ask Yourself Before Booking a Repaint
- How old is the existing paint? (Most acrylics in Sydney interiors last 5–8 years if prepped well.)
- Is the issue in a moisture-heavy zone like bathrooms or near kitchens?
- Do I plan any renovations that could damage new paint if done later?
- Does the current colour still suit our lighting and décor?
- Are there kids, pets or renters increasing wall traffic and marks?
Having these answers ready streamlines conversations with paint suppliers or professionals.
8. Safe Next Steps Once Early Signs Appear
- Document each affected wall with photos and notes.
- Isolate moisture sources—fix leaky plumbing, improve exhaust fans.
- Lightly sand and spot-prime small dull or chalky areas to slow progression.
- Compare colour charts and low-VOC ranges; the Australian Government’s YourHome paint guide lists safer formulations.
- Decide if a DIY weekend makes sense or if a professional finish is worth the time saved. For surface prep guidance, check our detailed guide on how to prepare walls for painting.
FAQs
1. How often should interior walls generally be repainted in Sydney?
Most well-prepped, low-sheen acrylics last 5–8 years in average-traffic rooms. High-humidity bathrooms or playrooms with regular scuffing may need attention closer to the five-year mark. Always judge by condition rather than calendar—dulling, chalking or recurring marks signal time for action sooner.
2. Can I just touch up dull spots instead of repainting the whole wall?
Small, isolated marks or nail-hole patches can be spot-repaired if you still have the original paint, it has not faded, and the wall’s sheen is consistent. Once broader areas appear uneven or the paint has aged, full wall repainting avoids visible “tracking” where old and new meet.
3. Does chalky residue mean the paint is unhealthy?
Chalking itself is a normal ageing process, but heavy dust can release fine particles into indoor air. Vacuuming walls with a soft brush reduces spread, and choosing low-VOC topcoats when you repaint keeps indoor air quality healthier.
4. Why do hairline cracks appear even on new plasterboard?
Minor building movement, thermal expansion, or skim-coat shrinkage can cause fine cracks within the first year. Using flexible gap fillers and high-quality undercoats early prevents them from widening and lifting paint later.
5. Is winter a bad time to repaint interior walls in Sydney?
Winter humidity is lower, reducing dry-time issues. Ensure indoor temperatures stay above 10 °C and allow ventilation to clear paint fumes. Many Sydney homeowners schedule interior repaints in cooler months when trades have shorter exterior queues.
Wrapping Up
Spotting faint chalk, micro-cracks or persistent marks might feel trivial today, yet these signals are your wall’s early call for help. Address them early, and you will avoid large-scale peeling, save on heavy prep work and keep your home looking fresh year-round. If you have traced several of the warning signs above and prefer expert confirmation, reach out to a qualified Sydney painter who can assess moisture levels, adhesion and colour longevity before recommending the right approach.
)
&description=&image=https://mipainting.com.au/wp-content/uploads/2026/06/How-to-Spot-Early-Signs-Your-Interior-Walls-Need-Repainting-Before-Peeling-Starts-1.jpg)