
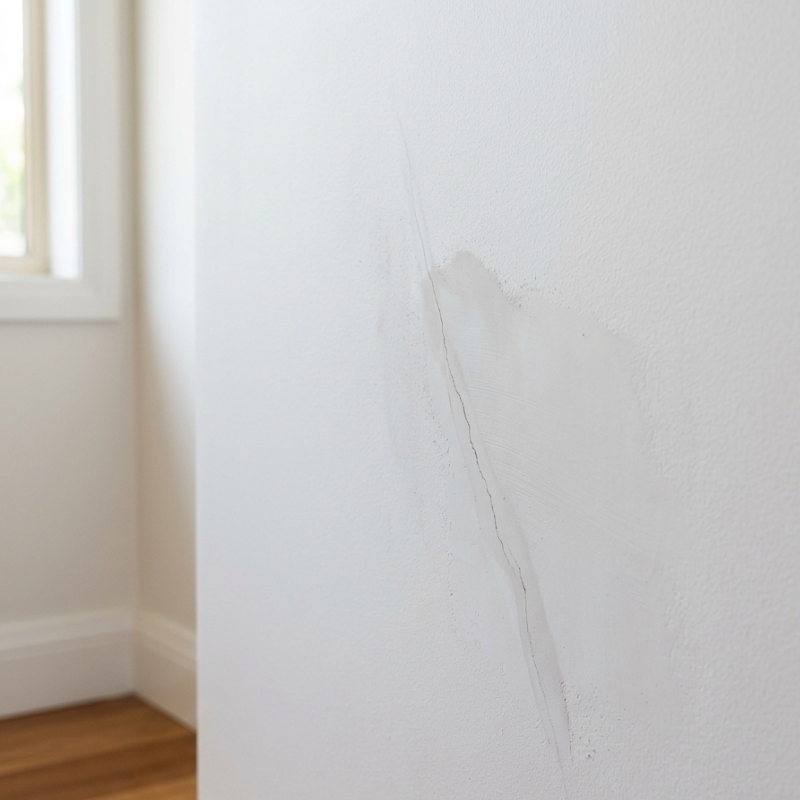
Flaking edges on a weatherboard cottage. Micro-bubbling across a lounge room wall you rolled only last week. Different faults, but the culprit’s usually the same one — the prep got rushed. Before a single coat even goes on, the surface underneath has already decided how vivid that colour will read. And whether it lies off smoothly. And how long it lasts against Sydney’s coastal humidity. Skip a step to save an afternoon, and you won’t see the damage right away. That’s the trap. Six months on, the defects surface — and they cost more to fix than the whole paint job did in the first place.
Preparation and the Finished Look
Manufacturers keep tweaking their pigments and binders. The laws of surface tension don’t move an inch. For paint to cure into one continuous film, the surface has to be clean, it has to be sound, and it has to have the right porosity — neutral, with nothing bleeding through. Dirt breaks that film. So does oil, or an old coat that’s already failing. Inside, on plasterboard, you get a patchy sheen and colour that shifts across the wall. Outside, on timber, UV slips through the tiny gaps, eats into the wood, and drags the topcoat apart until it cracks.
Homeowners ask us all the time why two tins of the identical colour can look different on walls right next to each other. Short answer: prep. Areas that got sanded and sealed properly bounce light back evenly. A nail hole left unfilled, or a drywall joint that was never flushed, soaks up paint at its own rate and reads as a duller patch — looks like a colour mismatch, but it isn’t. The crews who specialise in painting across Sydney pour as much work into the levelling, cleaning and priming as they do into the brushwork itself. The fussier the prep, the more even the finish comes out.
Modern Prep Steps That Matter in 2026
The bones of it haven’t changed — clean, sand, repair, prime. What’s changed is how each stage gets done, thanks to better gear and tighter local rules.
Cleaning. Mould loves the shaded pockets of Sydney — Wahroonga, Pymble, that sort of suburb. So prep kicks off with an anti-fungal wash now, not a quick sugar-soap wipe. Give it 48 hours to kill the spores properly before you go anywhere near it with sandpaper.
Moisture reading. Portable meters cost a fraction of what they used to. You’re after under 15% in timber, under 12% in plasterboard, before the paint will cure the way it should. Measure it and you avoid sealing damp straight into the wall.
Mechanical sanding. Random-orbital sanders with dust extraction have largely taken over from hand sanding. They make hitting that 180–220 grit sweet spot for interior enamels a lot less of a slog.
Gap sealing. The hybrid fillers — acrylic and silicone together — stay flexible for longer. They handle aluminium window frames expanding under the Sydney summer sun without cracking apart.
Priming. Universal water-borne primers take both acrylic and alkyd topcoats these days, and they re-coat fast. That quick turnaround can trim a full day off the schedule without costing you any adhesion.
Here’s how each step pays off down the line.
| Preparation task | Purpose | Visible outcome after one year |
| Mould treatment | Kills spores and their roots | No black spotting in the bathroom corners |
| Moisture check | Confirms the timber or gyprock is dry | No bubbling under the finish |
| Dust-free sanding | Leaves an even micro-scratch pattern | Consistent gloss across big walls |
| Flexible gap filler | Absorbs seasonal movement | Joints stay shut, the film stays intact |
| Correct primer | Seals the porosity, boosts adhesion | Colour keeps its depth, no chalking |
Sydney-Specific Site Challenges
Salt air gets around. After a run of solid nor’easters, it drifts as far inland as Parramatta, settling on the weatherboard laps and the masonry heads — even the interior window reveals, when people open up on a breezy day. Wipe it off without rinsing, and it hides under the fresh paint as a fine layer of crystal, drawing in moisture and setting up blisters later on. A gentle freshwater rinse, then proper dry time, and the risk is gone.
A lot of federation-era terraces still carry half-stripped lead paint. Run a standard orbital sander over that, and you spread harmful dust everywhere, which breaks Work Health and Safety rules on top of the health risk. Wet sanding with a proper vacuum shroud or chemical encapsulation is the safe way through. If you want to understand why coatings peel and how old lead feeds into it, we get into it in our piece on why paint sometimes peels.
Once summer nudges past 30 °C, the solvent flashes off faster, and you lose the open time you need to keep a wet edge. You can start earlier in the day. You can drop an extender into the first coat. Or you can switch to one of the new high-solid water-borne enamels built for the heat. Handy, all of it — but none of it fixes a rough substrate. It just widens the window once the prep’s actually done.
Selecting Products and Tools for 2026
The prep materials have come along with the paints:
- Abrasives. Ceramic-grain discs last longer and cut cooler, so they don’t glaze the timber with heat.
- Fillers. Calcium-carbonate pastes with polymer binders barely shrink, so a single application fills even a 6 mm gouge.
- Sealers. Multipurpose primers now carry tannin blockers — handy for the spotted gum you see on Sydney decks.
- Equipment. Dustless sanding systems kick off under four hundred dollars, which is fair enough for a keen DIYer doing one room.
The right tool saves your arms, too. Lightweight cordless sanders mean you’re not hauling out a scaffold for a small ceiling patch. Add an LED work light that throws every micro-scratch into shadow and you’ll get a finish off the brush that’s honestly close to spray.
If you want to be across the safety side, the current Safe Work Australia advice on lead paint sets out the permitted removal methods and the disposal rules — both of which shape how long thorough prep takes, and what it costs.
Practical Takeaway for Homeowners
Surface prep isn’t glamorous, and you never really see it in the finished job. But it decides every part of how that paint performs — the sheen, whether the colour holds true, how well it copes with everything Sydney’s climate throws at it. Budget one extra day for proper cleaning and priming and it usually buys back years of coating life. Roller in your own hand or a crew on site, insist on the prep steps being documented, and check each one’s fully dried or cured before the topcoats go on. The colour you fall for today deserves a foundation solid enough to keep it looking fresh well past 2026.

