Nothing ruins a fresh coat of paint faster than a poorly prepared wall. From glossy high-rise apartments in Parramatta to salty coastal cottages in Coogee, Sydney homes face a mix of humidity, changing temperatures and sometimes hidden moisture damage. This guide demystifies the three key prep stages every DIY painter or renovator should know: sanding, patching and priming. We will cover how local conditions affect each step, what equipment to use, how to tell if damage is only skin deep or linked to bigger plaster problems and, importantly, when to seek professional plastering support before the first brush stroke.
1. Why Wall Preparation Matters More in Sydney
Sydney’s climate swings from coastal humidity to the dry heat of the western suburbs, causing plasterboard and older solid plaster to expand and contract. Add salt spray near the beaches, the occasional leak from summer storms and the wear and tear of busy city living, and even new walls can show dents, peeling or fine cracks sooner than expected.
Preparing the surface properly does three important things:
- Stops new paint lifting or flaking when underlying damage moves again.
- Hides imperfections that would otherwise stay visible under trendy low-sheen finishes.
- Extends repaint cycles so you are not redoing feature walls every other year.
Below you will find local tips on choosing grit sizes, how long filler needs to cure in Sydney’s variable humidity and which primer type best locks out moisture.
2. First Things First: Assessing the Wall Before You Touch the Sandpaper
Before you reach for the sander, do a quick inspection. It takes just a few minutes and can save hours of re-work later.
2.1 Quick Inspection Checklist
| Check Point | What to Look For | Safe Next Step |
| Hairline cracks | Narrow, stable, no widening over months | Clean, fill and monitor |
| Diagonal or stepped cracks | Wider than a credit-card edge, around windows or doors | Consider professional assessment |
| Damp stains or mould | Musty smell, discolouration, flaky paint | Find and fix moisture source first |
| Hollow or drummy sounds | Tap lightly, listen for hollow echo | May need re-plastering not spot patch |
| Flaking or chalky paint | White powder on hand, paint dust | Wash, scrape, seal, then sand |
A thorough check helps you decide whether simple sanding and patching will do or whether a section needs re-skimming by a tradie.
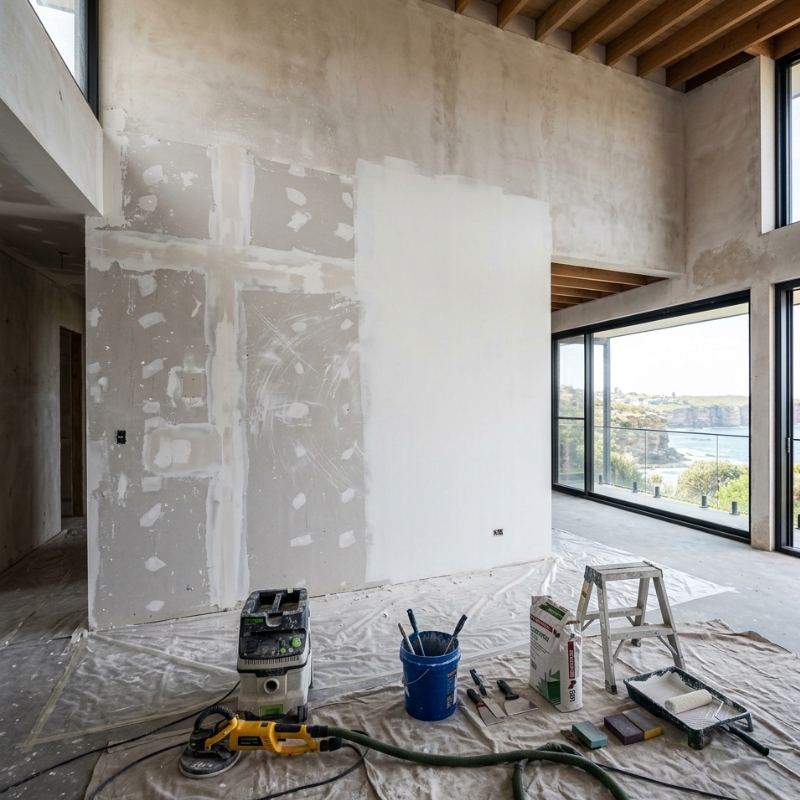
3. Sanding: Getting a Smooth Base Without Damaging the Gyprock
Sanding evens out roller marks, old brush lines and filler edges so primer can bond evenly.
3.1 Choosing the Right Grit
• Start with 120-grit for rough patched areas.
• Drop to 80-grit only on very uneven spots, then immediately step back up.
• Finish all over walls with 180- to 220-grit for velvety smoothness, perfect for modern matte paints popular across Sydney homes.
3.2 Orbital Sander vs Pole Sander
| Tool | Best For |
| Orbital (electric) | Large, flat walls, rental properties needing quick turnaround |
| Pole sander (manual) | Ceilings, tight spaces, low noise in apartments |
3.3 Dust and Lead Safety
Pre-2000 Sydney homes may still have layers of lead-based paint. Always test a hidden patch or assume the worst if unsure. Follow the NSW EPA lead safety guidelines for containment, PPE and clean-up.
4. Patching: Filling Dents, Holes and Minor Cracks the Right Way
Small imperfections grow obvious under two-coat colour schemes, so patch correctly.
4.1 Product Selection
• Lightweight spackling compound: Quick drying, great for nail holes.
• Setting-type joint compound: Stronger, ideal for deeper dents or small chase repairs.
• Acrylic gap filler: Flexible, perfect around trim where slight movement is expected.
4.2 Layering Technique
- Undercut large holes slightly so filler can key in.
- Apply in thin passes, feathering edges wider than the defect.
- Let each layer cure fully; Sydney’s coastal suburbs may need extra time due to humidity.
- Sand flush with 180-grit, wipe with a damp cloth to remove residue.
4.3 Common DIY Mistakes to Avoid
Many homeowners try to speed-patch just hours before painting. This often leads to flashing, sinking and visible patch outlines. For more pitfalls, see our guide on common DIY patching mistakes.
5. Priming: Sealing the Deal for Better Adhesion and Colour Uniformity
Primers do more than hide colour; they stabilise porous surfaces and block stains.
5.1 When You Must Prime
| Why Prime? | Type of Primer |
| Very porous, will suck in the topcoat unevenly | Acrylic sealer-undercoat |
| Blocks bleed-through | Stain-blocking oil or shellac primer |
| Improves grip | Bonding primer or light sand then universal primer |
| Resists mould, improves durability | Moisture-resistant acrylic primer |
5.2 Sydney Climate Pointers
High humidity along the coast can slow primer curing. Check the can for humidity limits and aim for mid-morning or early afternoon when temperatures are steady and ventilation is easier. In winter, western suburbs experience cold overnight lows, so allow extra drying time before applying your finish coats.
6. Putting It All Together: Step-by-Step Surface Prep Flow
- Clear and protect the workspace with drop sheets.
- Perform the inspection checklist.
- Wash walls with mild sugar soap, rinse and let dry.
- Sand rough spots, then lightly key the entire surface.
- Vacuum and wipe with a damp microfibre cloth to remove dust.
- Apply patching compound in layers, sand smooth once cured.
- Spot prime patched areas or full-prime if needed.
- Lightly de-nib primer with 220-grit, wipe clean.
- You are now ready for your first colour coat.
7. Monitor vs Repair vs Professional Help: Decision Table
| Surface Issue | DIY Monitor | DIY Repair | Call a Professional |
| Hairline cracks <1 mm | ✔ | ✔ | ✖ |
| Reappearing diagonal cracks | ✔ | ✖ | ✔ |
| Damp stains after recent leak | ✖ | ✖ (fix leak first) | ✔ |
| Drummy hollow plaster | ✖ | ✖ | ✔ (may need re-sheeting) |
| Peeling paint in bathrooms | ✖ | ✔ (if moisture source fixed) | ✔ (if mould returns) |
8. Questions to Ask Yourself Before You Start
- Do I have the right respirator, not just a dust mask, especially when sanding older paint?
- Can I ventilate the room well enough for primer fumes to clear?
- Will weekend humidity slow drying, making it a two-weekend project instead of one?
- If I uncover hidden water damage, do I have the time and skills to address it properly?
- Am I comfortable blending patched texture with the existing wall sheen?
Answering these early prevents half-finished projects and rushed paint jobs.
9. FAQs
1. Do I need to sand new plasterboard before painting?
Yes. Even fresh plasterboard has joint compound lines and factory paper sheen differences. A light 180-grit sand levels minor ridges and provides a key for primer.
2. How long should I wait after patching before priming?
Most lightweight fillers dry in 30–60 minutes, but deeper or setting-type compounds can take 2–3 hours or more in humid Sydney weather. Always follow product labels and do a gentle fingernail test; if it indents, it is not ready.
3. Can I skip primer if I use a self-priming paint?
Self-priming paints work on previously painted, sound surfaces. Bare plaster, repaired patches, or stained areas still benefit from a dedicated primer to avoid flashing and early paint failure.
4. What if sanding reveals flaky old paint that keeps peeling?
Stop and test for moisture or adhesion problems. Scrape back until the surface is firm, prime with a high-bond sealer and consider professional assessment if peeling continues.
5. Is there a perfect season for wall prep and painting in Sydney?
Autumn and spring offer mild temperatures and lower humidity, helping fillers and primers cure evenly without the summer heat or winter cold slowing everything down.
Final Thoughts
Great paintwork is 80 percent preparation and only 20 percent brush skills. By inspecting walls, sanding methodically, patching patiently and priming with the right product for Sydney’s mix of conditions, you will achieve a longer-lasting, professional-looking finish. If cracks keep widening, moisture stains return or sections sound hollow, engaging professional plastering support early can save you the cost of a complete repaint down the line.